VT200 Advanced GPS Tracker
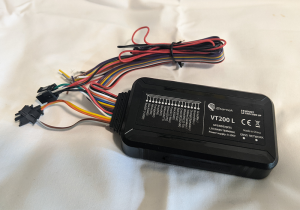
Thank you for purchasing the VT200 Advanced GPS Tracker from Osibot. Your device has been shipped with only the default configuration installed.
If you require assistance in setting up your device for your unique use case please contact us: info@osibot.com
We can provide custom configuration files and wiring diagrams for your unique use case for only a small fee.
Almost every aspect of the GPS tracker can be set up via the supplied PC software. Please read the included manuals before testing or installation.
DOWNLOAD PC SOFTWARE & MANUALS
PLEASE NOTE:
You must set up your mobile network APN & AUTH Phone Number before first use using the supplied programming USB cable.
Please download the PC software above and use the included programming USB cable to set the device’s Network APN & AUTH Phone Number.
BOAT QUICKSTART GUIDE
- Activate your new Sim Card and test that the Sim Card can send and receive SMS messages using your mobile phone.
- Install the new Sim Card into the GPS Tracker device.
- Download the PC Windows Configuration Software and unzip the files to your PC.
- Use the supplied programming USB cable to connect the GPS Tracker to your PC.
- Turn the GPS Tracker on using a pin or a pen.
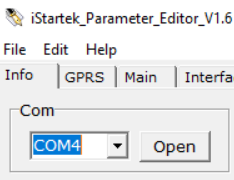
- Run the PC Configuration Software – “Parameter Editor V1.6.exe”
- Choose COM port and click OPEN
8. Add your personal mobile phone number to the “AUTH Number 1” box. e.g. 0412345678 and click the Write Button to save your changes.
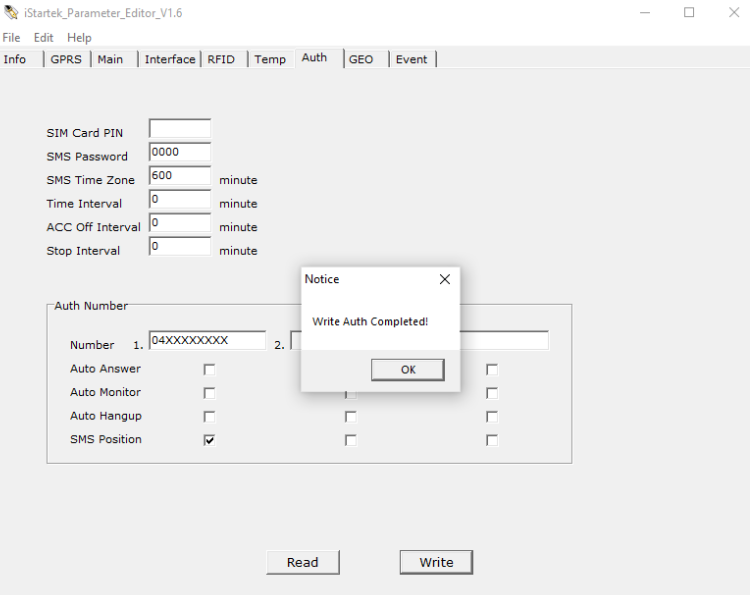
9. Test all the GPS Trackers functions before installing the GPS Tracker into your boat.
FUNCTIONS
- Get GPS Tracker Location:
- Send SMS to GPS Tracker – “0000,800”
- Or Call the GPS Tracker and it will send you a link to its location.
- Set Anchor Alarm Location:
- Make sure the boat is currently at your anchor/marina location.
- Send SMS to GPS Tracker – “0000,125,1”
- *Anchor Alarm will be activated every time the boat moves more than 200m from its location when the command was sent.
- The Anchor Alarm is automatically reactivated every time the boat reenters the 200m circle.
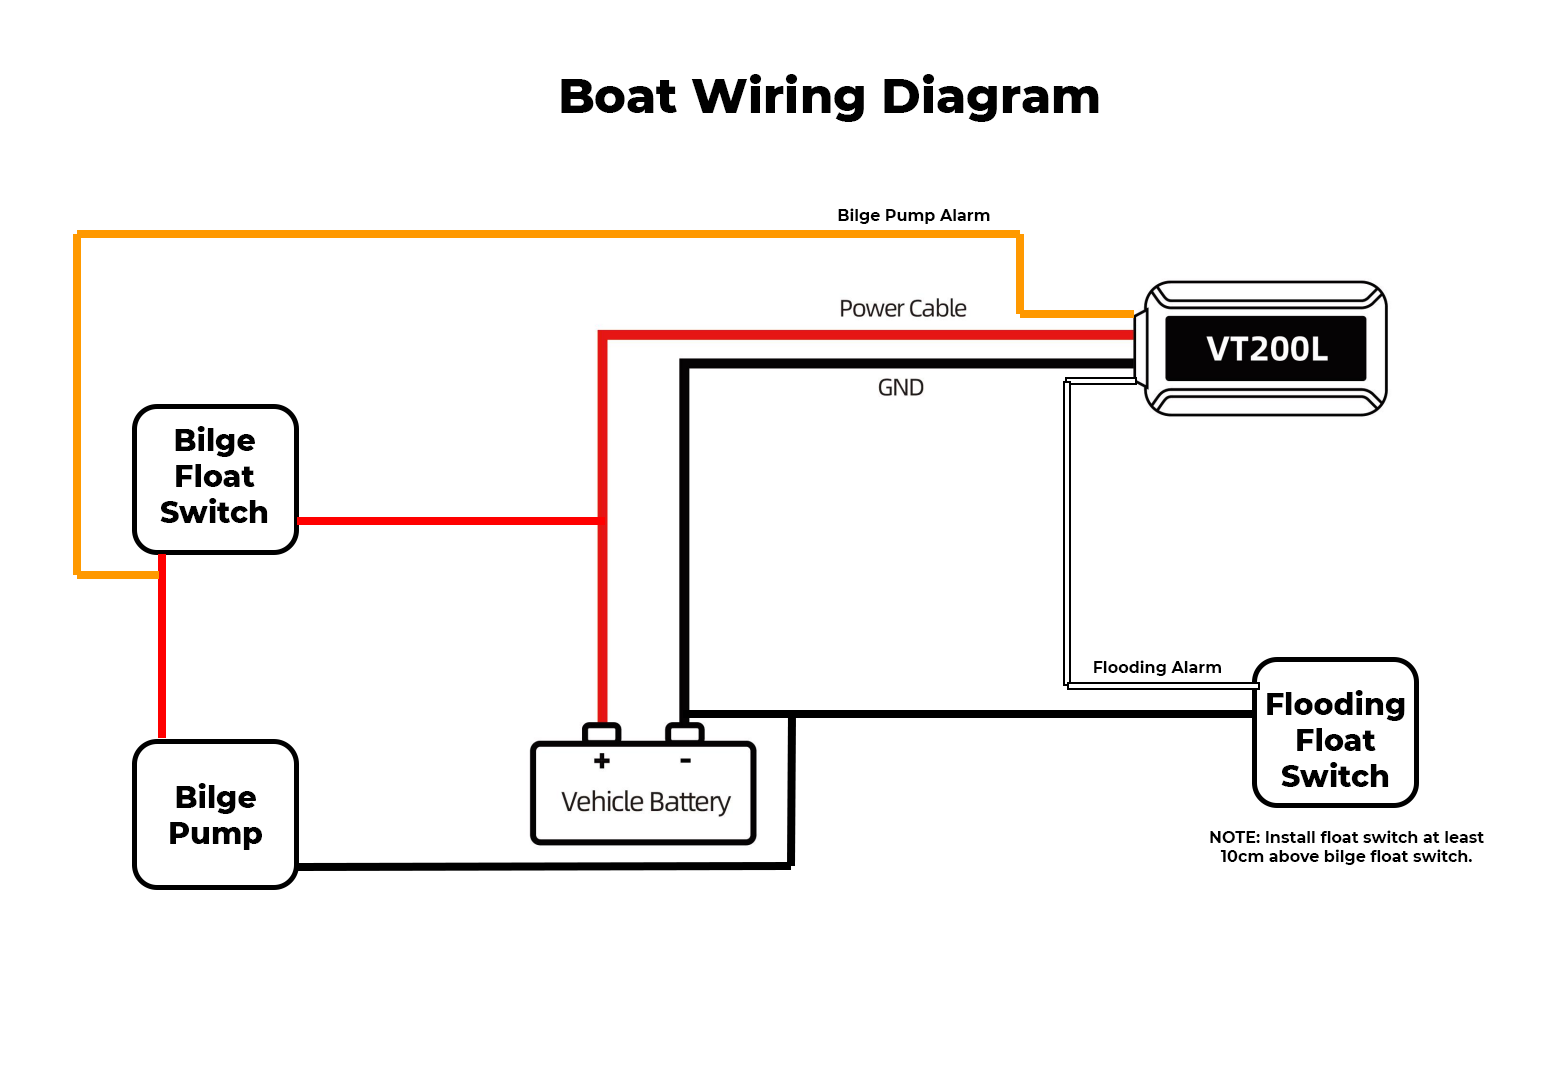
- Bilge Alarm:
- When a positive current (9-100V) is detected on the orange wire.
- An SMS will be sent to your AUTH Phone Number.
- When the bilge stops running an SMS will also be sent.
- Connect orange wire to the positive wire of the bilge pump.
- Flooding Alarm:
- When the white wire is connected to the black ground wire.
- An SMS & Phone Call will be sent to your AUTH Phone Number.
- When the flooding stops an SMS will also be sent.
- Connect white and black wires to a flood-detecting float switch.
- *NOTE: This float switch MUST NOT be connected to any power or currently be used by your bilge system.
- Low Battery Alarm:
- If the supplied voltage to the GPS Tracker drops below 11.4V
- An SMS will be sent to your AUTH Phone Number.
TroubleShooting
What if I don't want to use the Telstra Network?
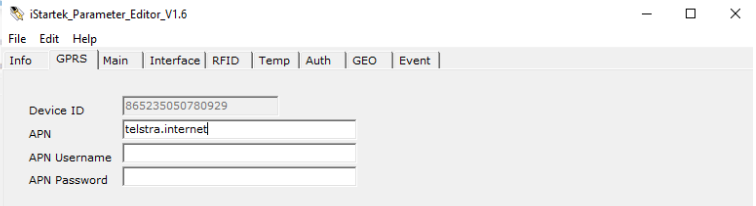
You will need to change the settings in the device using the PC Configuration Software.
First, find out your network APN name. e.g. Optus=yesinternet Vodafone= live.vodafone.com
Change the Network APN setting, don’t forget the click the Write Button to save your changes.
I don't own a Windows PC only a Apple MAC!
Unfortunenlty, the PC Configuration Software for this particular device only runs on Windows PCs.
To use the full potential of this product we recommend borrowing a Windows PC to run the supplied software to configure the device.
Alternatively, you can set up the device using only SMS commands:
- To setup, your APN send SMS: 0000,109,telstra.internet
- To set up your phone number send SMS: 0000,201,04XXXXXXXX
Somethings gone very wrong!
Don’t Worry!
You can restore the original settings to your device using the PC Configuration Software.
- Connect the device to your PC using the supplied programming cable.
- Run the PC Software “Parameter Editor V1.6.exe”
- Choose COM port and click OPEN
- Click FILE->Load Settings & select standardconfig.ini
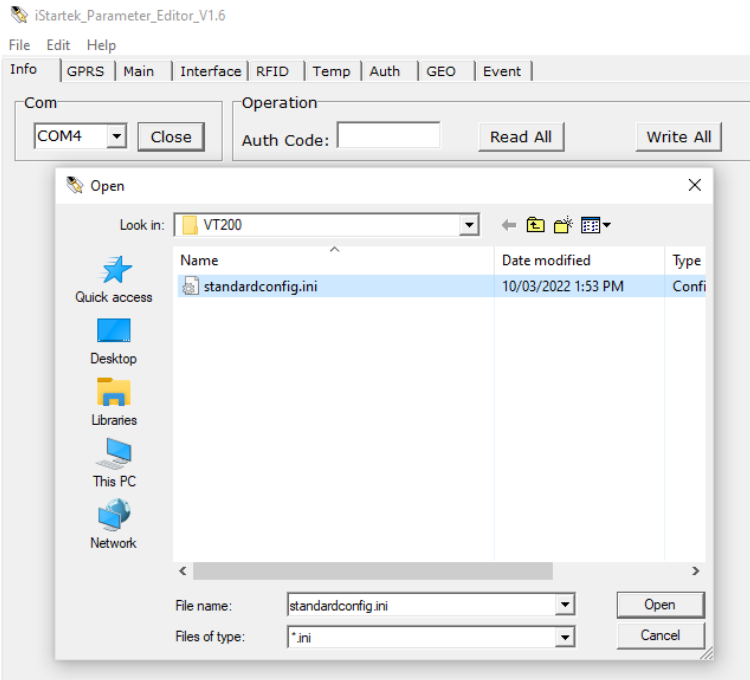
5. Click the Write All Button and disconnect the device from your PC.
6. Turn the device off for 10 seconds, then turn the device back on.
7. Your device has now been restored to its factory settings.